Creating a Calculator Organizer for My Classroom
Last school year I used plastic bags to organize my calculators. Overall it worked well, but it was difficult to tell if any calculators were missing. Calculators also got put back in different places as I moved students to work with partners and groups in different desk configurations.
This year I’ve decided to keep all my calculators in one spot. My idea originated with green organizer bins from the local dollar store. I was going to glue Popsicle sticks together to create a space for each calculator. Then I got access to a laser cutter and just like that my idea got a huge upgrade.
Yes, a LASER CUTTER! Seriously, if you haven’t heard about FabLab or Hackerspace, look into it. There might be one in your area! They are a do it yourself dream come true.
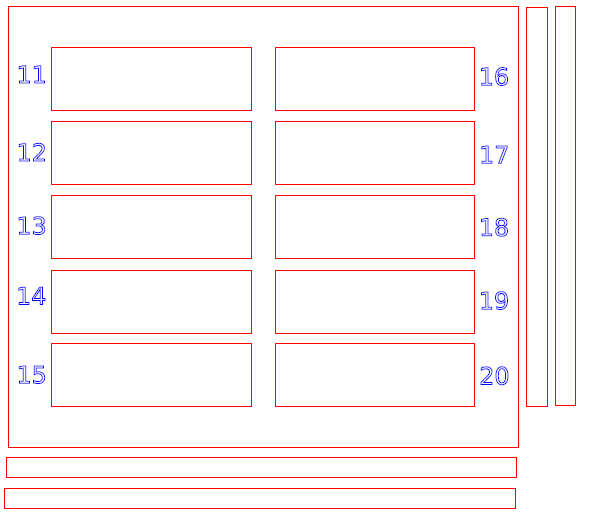
Anyway, I measured my organizers and created the following design (with some help) in Inkscape. I created the design and dimensions myself; I had help with how to edit the file so it would cut correctly on the laser cutter. For example, we had to create a color code system so anything in red would cut all the way through the wood and anything blue would only etch the surface.
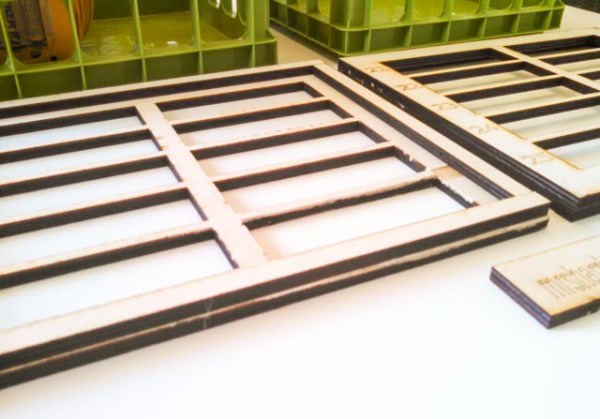
For my idea, the larger piece of cut out wood sits on top of my organizer bin. The long skinny pieces are glued underneath the larger piece to create a frame so the top doesn’t wiggle around or fall off. The wood used is 1/4 inch plywood.
Here is a video of the laser cutter working on cutting out my design.
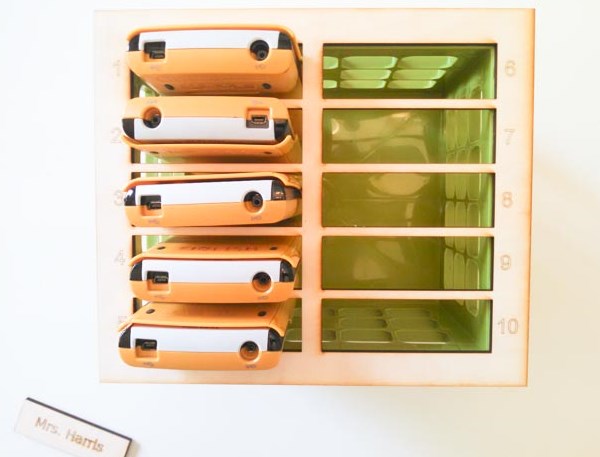
Here is top view of the final design.
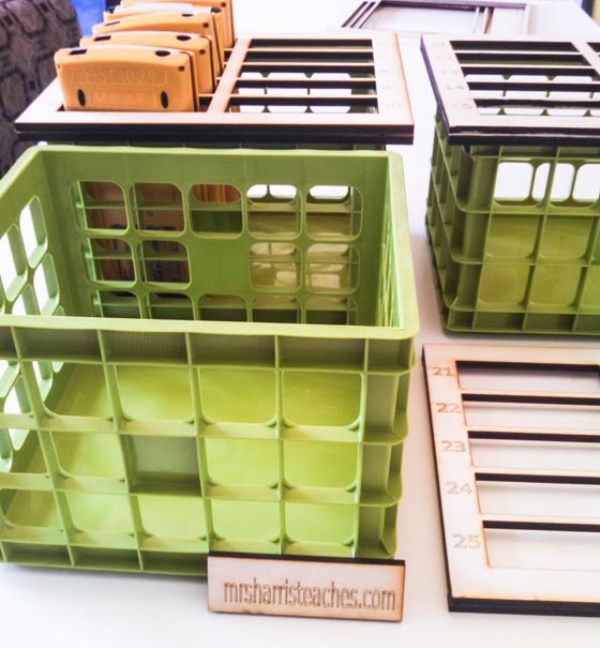
Here is a side view. You can see how I used the baskets I already have and just sit the wooden laser cut organizer on top.
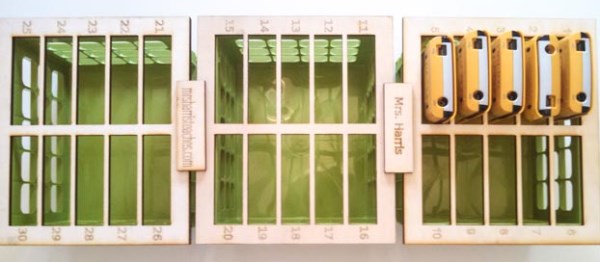
Here is a group shot of all three. I numbered each space from 1-30 because I use a similar numbering system in my classroom (every student has their own number). Since I’ve taken the picture, I’ve added 1-30 labels on to the top of each calculator using my label maker.
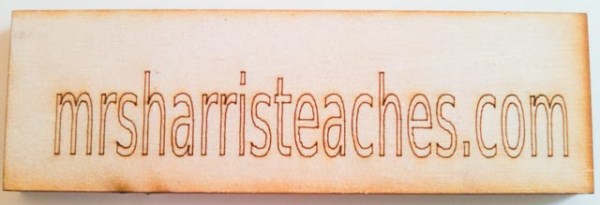
After I cut out the first file, I realized I could even use my scrap pieces. Using the pieces that were cut out to make the hole where the calculators go, I made name placards for all my teacher friends (and myself).
This is the coolest project I’ve done for my classroom. I went from using plastic bags for organization to laser cut wood. This blows my mind.
Now it’s your turn – what would you make with a laser cutter?


Leave a Reply