Earth Science Posters with Impact
Every semester, I have my students create a digital Earth Science “Earth is Beautiful” poster. I have tweaked this project every semester and this upcoming semester will be no exception.
In the past I have had my students create an 11 x 17 poster in Microsoft Word. The poster had to use one image from the NASA Goddard Space Flight Center Flickr stream. I limited the poster to this set of images for three reasons. One, they are beautifully stunning. Two, NASA has detailed descriptions for each of the images. Three, they have a Creative Commons Attribution License. This means my students can use the image in any way as long as they credit the source.
Along with the image, my students also add a heading, 1-2 paragraph description, and QR codes that take you to the image and other sources of information. They also present their finished product to their classmates.
I often print many posters at Staples, since you can get 11×17 color prints for less than a dollar each. (This was my original inspiration for using Staples for creating cheap classroom posters.) I like to put them around the school to show off my students work.
This semester I am making a LOT of changes.
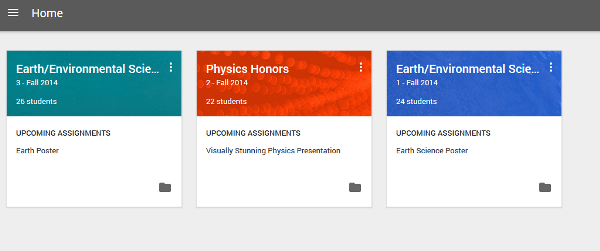
- I am using Google Classroom to organize all the files. I can easily share files with all my students with the click of a button. Students can also easily turn in their digital posters. This is my first time using Google Classroom with students, so hopefully it all goes as easily as it seems.
- I am using Google Drawing. This is because our new Chromebooks do not have Microsoft Word. This is my first time with Chromebooks with students AND Google Drawing! I chose Google Drawing over Google Docs because it is more versatile for my students poster creating needs. Text can easily be put anywhere.
- I am no longer limiting students to the Nasa Goddard Flickr Stream. I am going to teach them how to search Flickr images using effective key terms. by sorting and selecting the appropriate Creative Commons license.
- I am beefing up the presentation requirements by adding one minute of required time. In the past I have required students to share for 2 minutes (+/- 30 seconds). I have now upped it to 3 minutes. It does not sound like a significant amount of time, but it is – especially for new public speakers like my freshmen.
Today was the first day starting this project with students. Considering all the “new”, everything went better than expected. I only had two hiccups and one annoyance. First, one student (out of my three classes) mysteriously had been denied access to his school Google account. (Our county wide implementation of Google accounts for all students made this project much easier.) Second, the WiFi didn’t work for the last 15 minutes of my last class (at least it was the end of class). Last, the annoyance was using the Chromebook touch-pad. Next time I need to grab the good ‘ole box of computer mice for students who are like me and prefer using a mouse over a touch-pad.
Don’t let these hiccups scare you away. It has been worth the experience and I say jump in! I am working on getting my rogue student added to the network and I’ve already put in a trouble ticket for the WiFi (fingers crossed that it was a one time problem).
Oh, at the end of my last class my students shared that they hadn’t played Kahoot before. I have a surprise for them tomorrow!
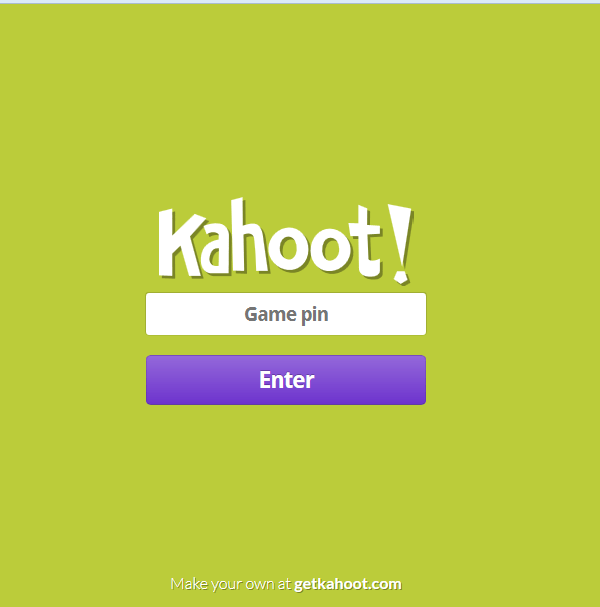
Try Kahoot – it’s a free and easy online game platform. It is perfect for reviewing content. I love it and my students do too! So far I have just used it with students playing by there cell phones, but tomorrow I’m using the Chromebooks. Here is the Kahoot I am using with my students tomorrow to review the rock cycle. It was super easy to make because I simply modified a Kahoot originally made by another teacher.

Leave a Reply