Watercolor and Pipette Science and Art Integration
I had this idea for a long time and this past school year I finally got the opportunity to implement it. I had my students create art using pipettes and watercolor paints. Here’s how I did it.
Supplies Needed: (*Contains Amazon Affiliate Links)
- Pipettes ≈ $7
- Watercolor Paint ≈ $10
- Cups (Most people have reusable cups, so I didn’t include these in the cost calculation.)
- Water
- Paper ≈ $5
- Paper Towels (just in case!)
- Optional: Paintbrushes and/or Paper Plates
Total Cost ≈ $22
Cost Per Student (for a class of up to 24 students) ≈ $1
Suggested Student Age: Middle to High School
Using pipettes to create details in artwork requires fine motor skills that elementary aged students might find difficulty with, unless you simply want the students to create abstract type art. As a teacher, I’m sure you can imagine the urge to squirt someone with the pipettes can be strong (ha!), so set your expectations ahead of time!
 Directions: First, decide what your purpose is for this science and art integration lesson. My Pinterest watercolor board can be a good source of inspiration. For my lesson, my students had the freedom to chose which science concept they wanted to represent with their artwork. You can also give students a specific topic to create, like DNA. Make it fit your class and your student needs – this science and art watercolor integration is a flexible idea. Adapt it to your needs.
Second, prepare your materials. I separated the paper from the pack ahead of time. If anyone has a trick to not have jagged tear lines, please share! I used the paper cutter in the teacher’s lounge to make a straight line across the top of the paper where I tore it out unevenly. Next, I set up groups of four to each share six cups of color. I used short cups like these because they are less likely to tip over. As a group they picked which six colors they wanted to use, but you can set up the color ahead of time too. The best thing about the watercolors in squirt tubes is if the paint dries out it is reactivated with water. This means you can squirt a bit of color into each cup before the school day starts. Each cup of color needs its own pipette.
Third, present your lesson. My students had to sketch out their ideas with pencil or pen before they were able to paint using the pipettes and watercolors. I presented it as a CHALLENGE. It is NOT easy to paint with pipettes, but it is possible. Students approached this task as skill building in using pipettes. This was completed in a science classroom, so my focus was on science skills and science content.
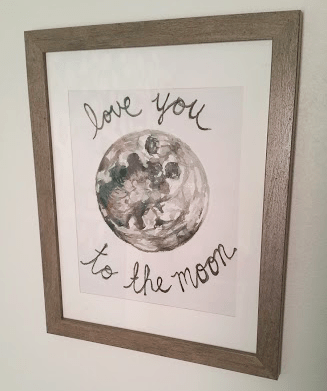
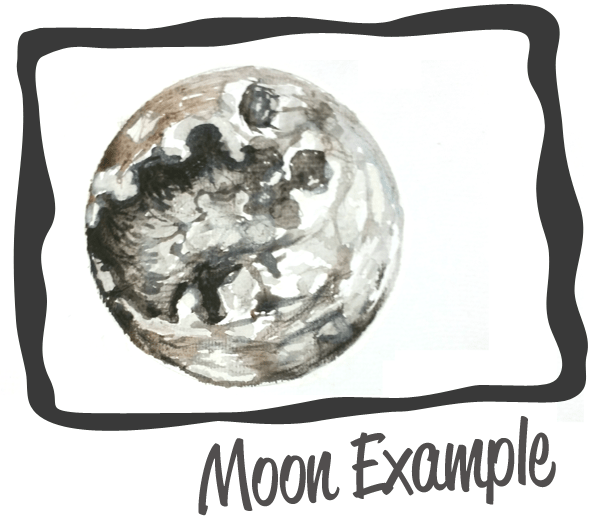
I highly suggest trying this out for yourself before suggesting your students try it out. This experience will provide the foundation for feedback and tips you can give to your students. The moon is the example I created myself. Full disclosure, I later added “love you to the moon and back” with a paintbrush. Now this art hangs in my daughter’s room. Gotta love it when you can use your time for double duty!

What would your students (or you) create using this pipette watercolor art technique?


Leave a Reply